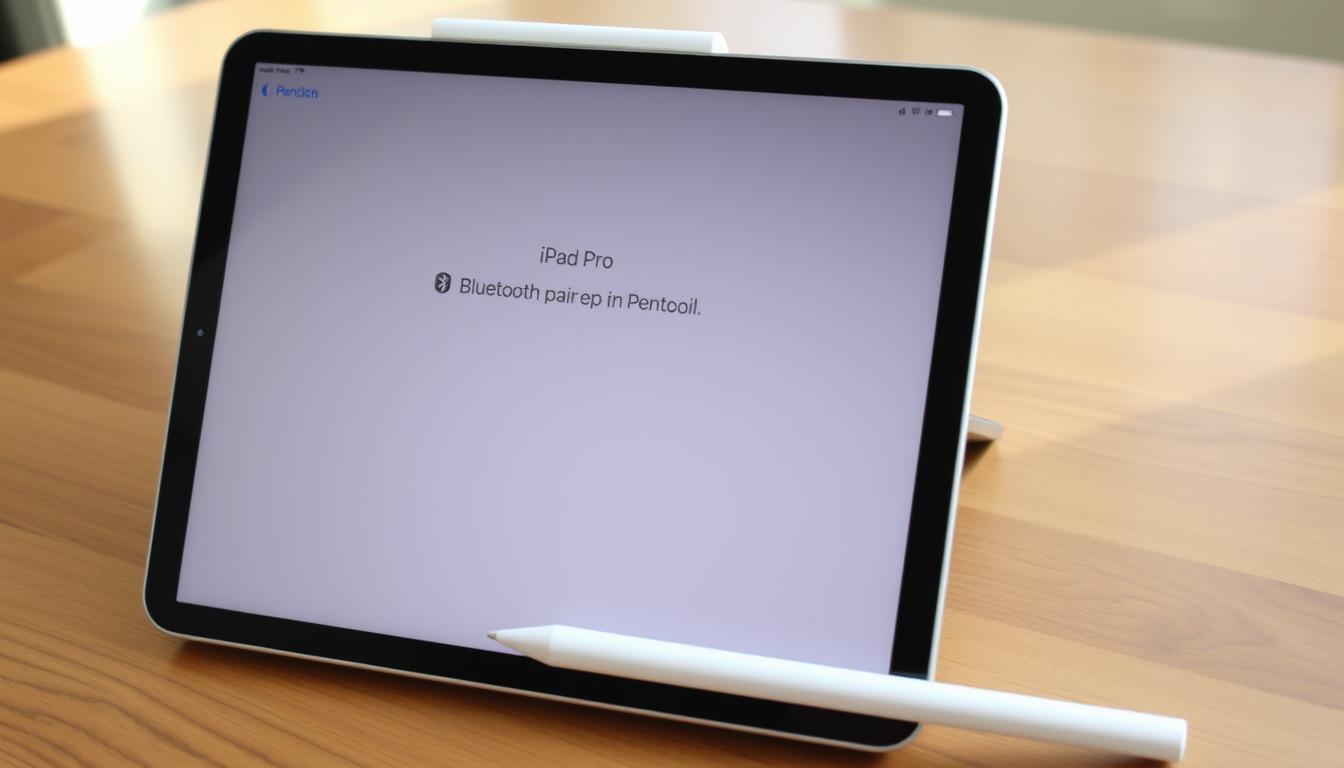
You’ve just unboxed an Apple Pencil and are ready to start drawing or taking notes. But before the stylus touches the screen, you need to pair it with your iPad — a simple process, though it differs depending on which generation you own.
Apple Pencil generations sold since 2015: 4 (1st gen, 2nd gen, Pro, USB-C) ·
iPad models compatible with Apple Pencil: Over 20 models across iPad, iPad mini, iPad Air, iPad Pro lines ·
Common pairing method for Apple Pencil (2nd gen or newer): Magnetic attachment to side of iPad ·
Average pairing time: Under 10 seconds
Quick snapshot
- 1st gen released 2015 (Wikipedia)
- 2nd gen released 2018 (Wikipedia)
- Pro and USB-C released 2024 (Apple official product page)
- 1st gen: plug into Lightning port (Apple Support)
- 2nd gen/Pro/USB-C: magnetic attach (Apple Support official guide)
- Pair button appears on screen (Apple Support)
- Restart iPad (Apple Support)
- Check Bluetooth settings (Apple Support)
- Charge Pencil for 15 min (Apple Support)
- Replace tip if worn (Apple Support)
- Charge via iPad (2nd gen/Pro/USB-C) (Apple Support official guide)
- Charge via Lightning adapter (1st gen only) (Apple Support)
- Full charge in ~15 min (Apple Support)
The table below summarizes the essential data across all four models.
| First Apple Pencil release year | 2015 |
| Number of Apple Pencil models | 4 (1st, 2nd, Pro, USB-C) |
| Average pairing time | Under 10 seconds |
| Battery capacity (all models) | Low: typically 0.329 Wh for 2nd gen, charges to full in about 15 minutes |
| Compatible iPad models total | More than 20 distinct models as of iOS 18 |
How do I pair my Apple Pencil with my iPad?
Physical connection is the key. Depending on which Apple Pencil you own, the pairing method changes fundamentally. Here’s exactly what to do for each generation.
Pairing Apple Pencil (2nd generation) or newer
Attach the Apple Pencil (2nd generation) to the magnetic connector on the right side of your compatible iPad. Apple explains that the Pencil “pairs and charges” via that magnetic connection (Apple Support – iPad User Guide). A “Pair” button appears on the screen within a few seconds. Tap it, and you’re done.
Pairing Apple Pencil (1st generation)
Remove the cap from the back of the Apple Pencil and plug the Lightning connector into your iPad’s Lightning port. For the iPad (10th generation), you’ll need the USB‑C to Apple Pencil Adapter and a compatible USB‑C cable (Apple Support – Pair and charge Apple Pencil (1st generation)). After a few seconds, tap the “Pair” button that appears.
Pairing Apple Pencil Pro
The Apple Pencil Pro uses the same magnetic pairing as the 2nd generation. Attach it to the magnetic connector on the right side of your iPad Pro with M4 chip or iPad Air with M2 chip. A pairing prompt appears immediately (Apple – Apple Pencil Pro).
Pairing Apple Pencil (USB-C)
Connect the USB-C cable that came with the Pencil to the iPad’s USB‑C port and the Pencil. Once the cable is connected, the Pair button appears on the iPad screen (Apple Support – Apple Pencil (USB‑C)).
Bottom line: Every Apple Pencil generation pairs via a direct physical connection—magnetic or wired—and a simple screen tap. If the button doesn’t appear, wait a few seconds for the Pencil to charge before trying again.
How do I activate my Apple Pencil for the first time?
Activation is identical to pairing: the moment you make the physical connection, the iPad recognises the Pencil and asks you to pair. No separate app or account is needed.
Checking Bluetooth settings
Before you start, make sure Bluetooth is turned on in Settings (Apple Support official guide). Go to Settings > Bluetooth and confirm that the toggle is green. The pairing prompt will only appear when Bluetooth is active.
Verifying iPad compatibility
Not every Apple Pencil works with every iPad. Check Apple’s official compatibility page (Apple – Apple Pencil) to be sure. For example, the Apple Pencil Pro only pairs with iPad Pro M4 and iPad Air M2 models. If you try to pair an incompatible Pencil, the Pair button won’t show.
Bottom line: First-time activation is a one-step process—attach or plug in, then tap Pair. The only prerequisite is Bluetooth enabled and a compatible iPad.
Why is my iPad not recognizing my Apple Pencil?
When the Pair button stays stubbornly absent, a few standard fixes usually solve the problem. Here’s the official troubleshooting sequence from Apple.
Restarting your iPad
Hold down the top button and either volume button until the “slide to power off” appears. Turn the iPad off, then on again. With the Pencil still connected, wait a moment—sometimes that’s all it takes (Apple Support).
Forgetting and re-pairing in Bluetooth settings
Go to Settings > Bluetooth. If you see your Apple Pencil listed under My Devices, tap the info icon (i) and select “Forget This Device.” Then re‑attach or reconnect the Pencil to trigger a fresh pairing prompt (Apple Support).
Checking Apple Pencil battery level
If the Pencil battery is completely drained, the iPad may not recognise it. Check the battery level in the Today View widget or under Settings > Bluetooth next to the Pencil’s name (Apple Support). Charge it for at least 15 minutes if the level is very low.
Bottom line: A simple restart fixes most “not recognized” issues. If not, forget the device in Bluetooth and re‑pair—and always check that the Pencil has enough charge.
How do I fix my unresponsive Apple Pencil?
An Apple Pencil that connects but doesn’t write or tap is usually suffering from a low battery, a worn tip, or a software glitch.
Charging the Apple Pencil
Attach the Pencil to your iPad (magnetic or Lightning) and leave it for at least 15 minutes. Apple notes that a full charge takes about 15 minutes (Apple Support).
Checking iPad software updates
Go to Settings > General > Software Update. If an iPadOS update is available, install it. Apple says to update to the latest software when pairing or performance issues arise (Apple Support).
Inspecting Pencil tip for damage
Worn or cracked tips can cause erratic or no input. Apple sells replacement tips (Apple – Accessories). Unscrew the old tip and screw on a new one tightly. Test the Pencil on a different part of the screen or remove a screen protector if one is installed.
Bottom line: An unresponsive Pencil often just needs a charge or a new tip. Software updates are a free, easy fix that many users overlook.
How do I get my Apple Pencil to connect to my iPad again?
After a successful initial pair, the Apple Pencil should reconnect automatically when attached. When it doesn’t, here’s the recovery plan.
Disconnecting and reconnecting physical connection
For 2nd generation, Pro, and USB‑C models: detach the Pencil from the magnetic connector and reattach it. For 1st generation: unplug and replug it into the Lightning or USB‑C port (Apple Support).
Re-pairing via Bluetooth settings
If auto‑pair fails, go to Settings > Bluetooth. Find the Apple Pencil in the list and tap “Connect.” If it’s listed under My Devices with a status, you may need to tap the device name and choose “Connect” again (Apple Support). Users on the Apple Support Community also report that toggling Bluetooth off and back on can trigger the pairing prompt (Apple Support Community discussion).
Bottom line: Reconnection is usually seamless. When it’s not, a quick disconnect/reconnect or a Bluetooth toggle typically resolves it.
Which iPad models are compatible with each Apple Pencil?
Knowing your iPad model is essential before buying or pairing a Pencil. Here’s the full compatibility breakdown.
Four generations, four compatibility sets: the table below shows which iPads work with which Apple Pencil.
| Apple Pencil Model | Release Year | Compatible iPads (summary) |
|---|---|---|
| 1st generation | 2015 | iPad (6th–10th gen), iPad mini (5th gen), iPad Air (3rd gen), iPad Pro (1st–3rd gen 12.9″, 1st–2nd gen 11″) |
| 2nd generation | 2018 | iPad Air (4th, 5th gen), iPad mini (6th gen), iPad Pro (3rd–6th gen 12.9″, 1st–4th gen 11″) |
| Pro | 2024 | iPad Pro (M4 chip 11″ and 13″), iPad Air (M2 chip 11″ and 13″) |
| USB-C | 2024 | iPad (10th gen), iPad Air (4th, 5th gen), iPad mini (6th gen), iPad Pro (3rd–6th gen 12.9″, 1st–4th gen 11″) |
The catch: even within the same generation, chipset differences can lock out certain models. For exact model numbers, refer to the official compatibility page on Apple’s website.
Apple Pencil specifications at a glance
Four models, one pattern: each generation trades off between wireless convenience, charging speed, and iPad support.
| Specification | 1st gen | 2nd gen | Pro | USB-C |
|---|---|---|---|---|
| Release year | 2015 | 2018 | 2024 | 2024 |
| Connector type | Lightning | Magnetic (wireless) | Magnetic (wireless) | USB-C |
| Charging method | Lightning port (iPad or adapter) | Magnetic side of iPad | Magnetic side of iPad | USB-C cable |
| Wireless pairing | No | Yes (magnetic) | Yes (magnetic) | No (cable required) |
| Double-tap shortcut | No | Yes | Yes (squeeze + haptic) | No |
| Compatible iPad models | iPad 6th–10th gen, iPad mini 5th, iPad Air 3rd, iPad Pro 1st–3rd 12.9″ | iPad Air 4th/5th, iPad mini 6th, iPad Pro 3rd–6th 12.9″, 1st–4th 11″ | iPad Pro M4, iPad Air M2 | iPad 10th gen, iPad Air 4th/5th, iPad mini 6th, iPad Pro 3rd–6th 12.9″, 1st–4th 11″ |
The implication: the Pro model’s squeeze gesture locks out older iPads entirely, forcing a choice between features and compatibility.
If you own an iPad Pro M4 or iPad Air M2, the Pro model is the clear choice—it adds a squeeze gesture and haptic feedback. For older iPads, the 2nd generation or USB‑C model offers the best balance of convenience and compatibility.
Step-by-step pairing guide (quick reference)
For those who want the shortest possible instructions, here’s each generation’s pairing process in three steps.
- Apple Pencil (1st gen): Remove cap → Plug into Lightning port → Tap Pair.
- Apple Pencil (2nd gen): Attach to magnetic connector on right side of iPad → Tap Pair.
- Apple Pencil Pro: Attach to magnetic connector → Wait for prompt → Tap Pair.
- Apple Pencil (USB-C): Connect USB-C cable between Pencil and iPad → Tap Pair.
All pairing steps assume Bluetooth is on and the iPad is compatible (Apple – Compatibility).
What we know vs. what’s unclear
Confirmed facts
- Apple Pencil (2nd gen) pairs by magnetic attachment to compatible iPad models (Apple Support official guide).
- Apple Pencil (1st gen) pairs via Lightning port connection (Apple Support).
- Pair button appears on iPad screen within a few seconds of physical connection (Apple Support).
- Apple Pencil Pro pairs only with iPad Pro M4 chip or iPad Air M2 chip (Apple – Apple Pencil Pro).
- If pairing fails, restarting iPad often resolves the issue (Apple Support).
- Apple Pencil battery can be checked in Today View widget or Settings > Bluetooth (Apple Support).
What’s unclear
- Exact battery Ah/Wh for Apple Pencil (USB‑C) model not publicly listed by Apple (Apple – Apple Pencil product page).
- Whether future iPadOS updates will change pairing behaviour for USB‑C Pencil remains unspecified by Apple.
What the experts say
“Connect your Apple Pencil into your iPad and tap the Pair button when it appears after a few seconds.”
— Apple Support – official pairing instructions
“For the 1st generation, remove the cap, plug into the Lightning port, then tap Pair on the screen.”
— Square Repair – third-party repair guide
“Users in the Apple Support Community report that toggling Bluetooth off and back on often forces the pairing prompt to appear.”
— Apple Support Community discussion
What this means for you
Pairing an Apple Pencil is a matter of seconds once you know the right physical connection for your model. The most common frustration—the Pair button not appearing—is almost always solved by a restart, a Bluetooth reset, or a simple charge. For anyone still using a first-generation Pencil with a newer iPad, remember that the iPad 10th gen requires the USB‑C adapter. If you’re considering an upgrade, the trade-off is clear: the Pro and USB‑C models offer the widest compatibility with 2024 iPads, while the 2nd generation remains the best choice for 2018–2022 Pro and Air models. The pattern shows that users who match their Pencil generation to their iPad’s chipset will avoid the most common pairing headaches.
Related reading: Screen Record on Mac: Built-in Tools, Shortcuts & Audio · How to Screen Record on Windows: 3 Methods (11, 10, 7)
Frequently asked questions
What should I do if the Pair button does not appear on my iPad?
Wait a few seconds for the Apple Pencil to charge, then restart your iPad. If it still doesn’t appear, go to Settings > Bluetooth and forget the device, then re‑attach the Pencil.
How long does it take for an Apple Pencil to charge fully?
About 15 minutes for a full charge. A 30-second charge gives about 30 minutes of use.
Can I use my Apple Pencil with multiple iPads?
Yes, but you’ll need to pair it with each iPad separately. The Pencil can only be connected to one iPad at a time.
How do I check the battery level of my Apple Pencil?
Add the Batteries widget to your Today View, or check under Settings > Bluetooth next to the Pencil’s name.
Why does my Apple Pencil not write but still connects?
Check the tip for wear or damage—replace it if needed. Also ensure the Pencil is charged enough (low battery can cause input issues).
Is my iPad compatible with my specific Apple Pencil?
Check Apple’s official compatibility list at apple.com/apple-pencil. The most common mismatch is trying to use a 1st gen Pencil with an iPad Air 4th gen or later.
How often should I replace the Apple Pencil tip?
When you notice skipping, scratching, or reduced sensitivity—typically every few months with heavy use. Apple sells 4‑packs of replacement tips.
Related stories



Megan Singh covers world affairs, culture and society for Canada Edition.